Using Your Premium Beauty Sponge for Contouring and Highlighting February 5, 2025
Contouring and highlighting are essential makeup techniques that help define facial features and enhance natural beauty. A premium beauty sponge is one of the best tools for achieving seamless and professional results. Whether you’re in Dubai, the United Arab Emirates (UAE), or Lebanon, mastering the use of your beauty sponge can elevate your makeup game to the next level.
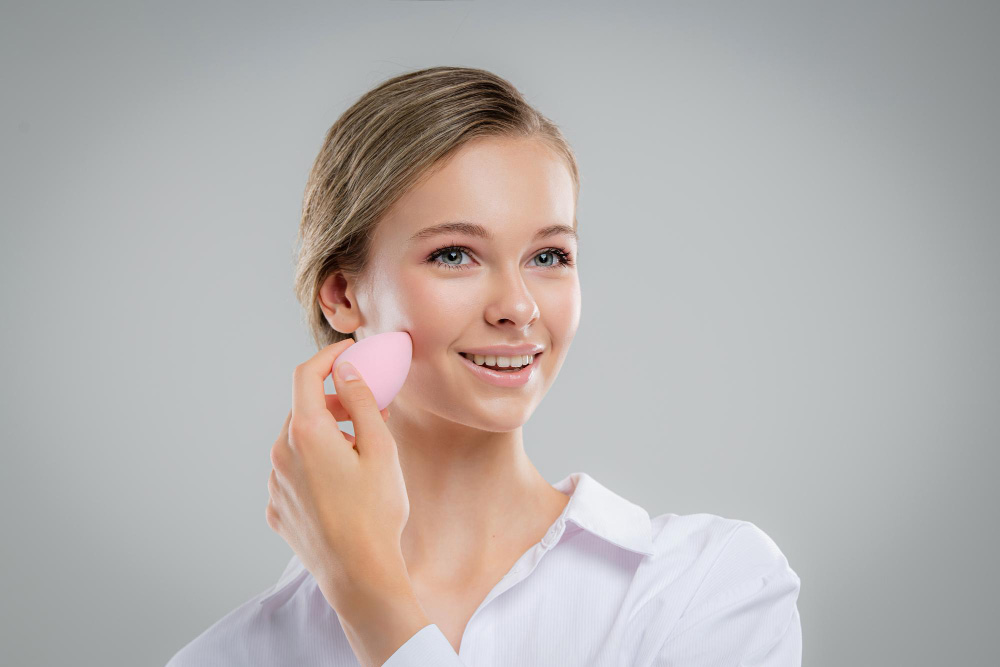
Why Use a Beauty Sponge for Contouring and Highlighting?
Unlike makeup brushes, a beauty sponge offers a smooth, airbrushed finish while preventing streaks and harsh lines. It absorbs just the right amount of product and blends foundation, contour, and highlight seamlessly into the skin. Additionally, sponges can be used damp or dry, depending on the type of coverage desired.
Choosing the Right Beauty Sponge
When selecting a beauty sponge, consider the following factors:
- Material: High-quality, latex-free sponges are gentle on the skin and provide excellent blending.
- Shape: A teardrop shape is ideal for both broad and detailed applications, while flat-edged sponges work well for defining contour lines.
- Density: A soft, bouncy texture ensures smooth blending without absorbing too much product.
Preparing Your Beauty Sponge
For best results, follow these steps before using your beauty sponge:
- Wet the sponge: Run it under water and squeeze out the excess moisture until it expands and becomes soft.
- Use it damp: A slightly damp sponge prevents excessive product absorption and ensures an even application.
- Dry for powder: If you’re using it for setting powder, use a dry sponge for precise placement.
Step-by-Step Guide to Contouring with a Beauty Sponge
Step 1: Apply Foundation
Before contouring, apply your foundation evenly using the rounded side of the beauty sponge. This creates a flawless base and helps blend contour seamlessly.
Step 2: Map Your Contour
Using a cream or liquid contour product, apply it to key areas:
- Hollows of the cheeks
- Along the jawline
- Sides of the nose
- Perimeter of the forehead
For a sculpted effect, use a shade two tones darker than your skin tone.
Step 3: Blend with the Sponge
Use the rounded edge of the sponge to blend the contour upward in gentle tapping motions. Avoid dragging, as this can create patchy spots.
Step 4: Highlight Key Areas
Apply a light concealer or liquid highlighter to:
- The center of the forehead
- Bridge of the nose
- Under the eyes
- Chin and cheekbones
Use the pointed tip of the sponge to blend the highlighter seamlessly.
Setting Your Contour and Highlight
To lock in your makeup:
- For a matte finish: Use a dry sponge to press translucent powder into the skin.
- For a dewy glow: Lightly spritz the sponge with setting spray before blending in highlighter.
- Bake under the eyes: Apply a generous amount of loose powder with the flat side of the sponge and let it sit before dusting off.
Common Mistakes to Avoid
Even experienced makeup enthusiasts can make mistakes when using a beauty sponge. Here are some to watch out for:
- Using a dry sponge for liquids: This can lead to uneven application.
- Dragging instead of bouncing: Always use tapping motions for best results.
- Not cleaning your sponge: Bacteria buildup can cause breakouts, so wash it regularly.
Final Thoughts
Mastering the use of a premium beauty sponge for contouring and highlighting can transform your makeup routine. Whether you’re perfecting your look for a night out in Dubai, an event in Lebanon, or simply enhancing your daily makeup in the United Arab Emirates (UAE), these tips will help you achieve flawless results. With the right techniques and a high-quality beauty sponge, you can effortlessly blend, sculpt, and highlight your features like a professional.