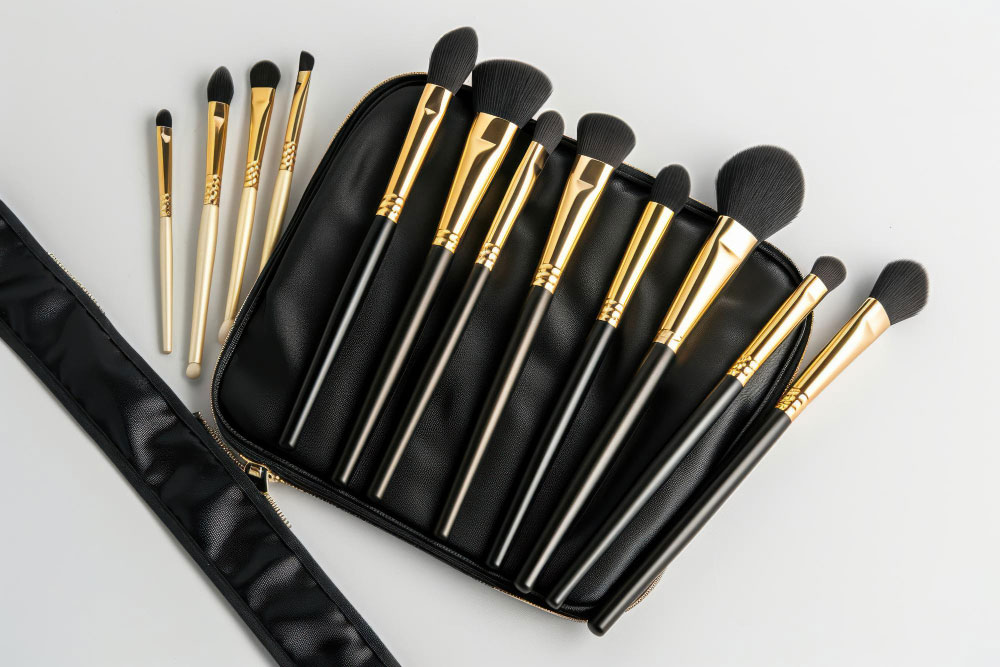
Makeup Brush Care and Maintenance: Keeping Your Brushes Clean and Hygienic September 6, 2024

Makeup brushes are essential tools in every beauty routine, helping to blend, contour, and perfect your makeup look. However, regular use of these brushes can lead to a buildup of makeup residue, oils, and bacteria, which can negatively impact your skin and the performance of the brushes. Proper care and maintenance of your makeup brushes are essential to ensure they remain clean, hygienic, and long-lasting. In this article, we’ll explore the best tips and techniques for keeping your makeup brushes in top condition.
1. Why Cleaning Your Makeup Brushes Is Important
Cleaning your makeup brushes isn’t just about extending their lifespan—it’s also crucial for maintaining healthy skin. Dirty brushes can harbor bacteria, oils, and old makeup, which can transfer onto your skin and cause breakouts, irritation, or infections. Regular cleaning helps remove these impurities, keeping your skin healthy and your makeup application flawless.
2. How Often Should You Clean Your Brushes?
The frequency of brush cleaning depends on how often you use them and what type of products you apply:
- Foundation and Concealer Brushes: These should be cleaned at least once a week, as they are used with cream or liquid products that can easily build up and harbor bacteria.
- Powder Brushes: Brushes used for powder products like blush, bronzer, or setting powder can be cleaned every 1-2 weeks.
- Eyeshadow Brushes: For best results and to avoid color mixing, clean eyeshadow brushes after each use or at least once a week.
- Eyeliner and Lip Brushes: Since these brushes are used in more sensitive areas, they should be cleaned after each use to prevent product buildup and bacteria growth.
3. The Best Products for Cleaning Your Brushes
You don’t need fancy or expensive products to clean your makeup brushes. Here are some effective options you can use:
- Gentle Shampoo or Brush Cleanser: A mild baby shampoo or a specialized brush cleanser is perfect for breaking down makeup residue and oils while being gentle on the bristles.
- Olive Oil and Dish Soap Mixture: For a deep clean, you can mix equal parts olive oil and dish soap. The olive oil helps condition the bristles, while the dish soap breaks down the makeup and bacteria.
- Micellar Water: Ideal for quick cleans, micellar water can remove makeup residue between deeper cleanings. It’s especially useful for synthetic brushes.
4. How to Clean Your Makeup Brushes: Step-by-Step Guide
Follow these steps to clean your brushes thoroughly:
- Step 1: Wet the bristles of the brush with lukewarm water, being careful not to soak the base of the brush where the bristles are glued to the handle, as this can loosen the glue over time.
- Step 2: Add a small amount of gentle shampoo or brush cleanser to the palm of your hand or a cleaning mat.
- Step 3: Gently swirl the brush in the cleanser to work up a lather, focusing on the bristles. Avoid scrubbing too hard to prevent damaging the brush.
- Step 4: Rinse the bristles under lukewarm water until all soap and makeup residue are gone.
- Step 5: Gently squeeze out excess water from the bristles with a clean towel.
- Step 6: Reshape the bristles and lay the brush flat on a towel to air dry. Make sure the brush head is hanging off the edge of a counter to maintain the shape of the bristles.
5. How to Maintain Brush Hygiene Between Uses
In addition to regular cleaning, there are steps you can take to keep your brushes hygienic between uses:
- Use a Brush Sanitizer Spray: Spritzing your brushes with a brush sanitizer after each use can help kill bacteria and keep them fresh between washes.
- Avoid Sharing Brushes: Sharing makeup brushes can spread bacteria and infections, so it’s always best to use your own tools.
- Store Brushes Properly: Store your brushes in an upright position in a clean, dry space. Avoid storing them in closed bags where moisture can encourage bacterial growth.
6. When to Replace Your Makeup Brushes
Even with proper care, makeup brushes won’t last forever. Here are signs that it’s time to replace them:
- Frayed or Shedding Bristles: If your brush starts shedding bristles or the bristles become frayed, it may no longer apply makeup smoothly, and it’s time for a replacement.
- Foul Smell: If your brush starts to emit a bad odor even after cleaning, it could indicate bacteria growth, and you should replace it immediately.
- Stiff or Misshapen Bristles: Over time, bristles can lose their softness or become misshapen. When this happens, the brush won’t perform as effectively, and it’s best to invest in a new one.
Conclusion
Proper care and maintenance of your makeup brushes are essential for keeping them in top shape and ensuring a flawless makeup application. By cleaning your brushes regularly, using the right products, and storing them correctly, you can prolong their lifespan and maintain healthy, clean skin. Remember to check your brushes regularly for signs of wear and replace them when needed to get the best results from your makeup routine.
