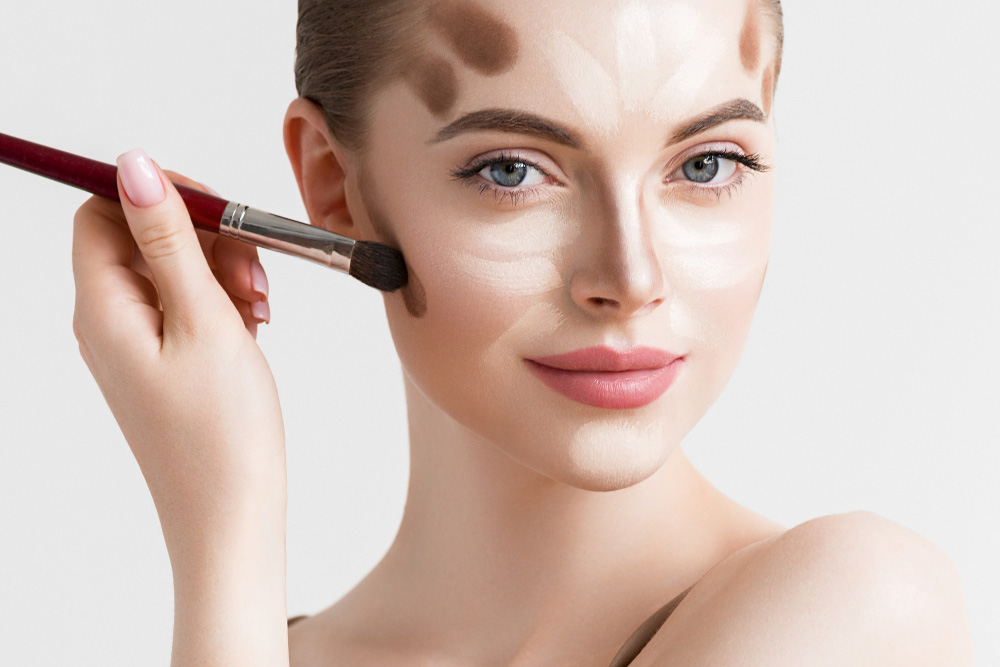
Contouring for Photographs: How to Look Your Best on Camera December 6, 2024

Whether it’s a professional photoshoot, a wedding in Dubai, a corporate event in the United Arab Emirates (UAE), or a family gathering in Lebanon, looking your best on camera is a must. Contouring has become an essential makeup technique for enhancing your facial features and creating depth, ensuring you look polished and confident in every photograph. Here’s your ultimate guide to contouring for photographs, with tips and tricks to help you achieve a camera-ready look.
1. Understanding the Basics of Contouring
Contouring involves using darker and lighter makeup shades to define and sculpt the face. It adds depth and dimension, emphasizing your best features while subtly minimizing others. For photographs, it’s essential to apply contouring in a way that looks natural yet impactful under camera lighting.
- Tip: Choose contour products that are matte and blendable for a natural finish.
- Benefit: Proper contouring enhances the structure of your face, making it appear more defined on camera.
2. Choosing the Right Products
Your choice of contouring products plays a significant role in achieving a flawless look. Cream-based products are ideal for a dewy finish, while powders work best for matte looks.
- Tip: Select a contour shade that is 1-2 tones darker than your natural skin tone and a highlighter that is 1-2 tones lighter.
- Benefit: Using the correct shades ensures your contour looks subtle and professional under camera flash.
For events in places like Dubai and the UAE, where heat and humidity can be factors, opt for long-lasting, sweat-proof products to maintain your look throughout the day.
3. Preparing Your Canvas
Before applying contour, ensure your skin is prepped and ready for makeup. A smooth base allows for seamless blending and prevents the makeup from looking cakey.
- Tip: Cleanse, moisturize, and use a primer suited to your skin type.
- Benefit: Prepped skin creates a flawless base for contouring and ensures your makeup stays put during long photoshoots.
4. Contouring for Different Face Shapes
Each face shape requires a unique approach to contouring. Understanding your face shape is key to accentuating your features in photographs.
- Oval Face: Focus on contouring the temples, under the cheekbones, and along the jawline to add definition.
- Round Face: Contour the sides of the forehead, under the cheekbones, and along the jawline to create the illusion of length.
- Square Face: Soften the angles by contouring the corners of the forehead and jawline.
- Heart-Shaped Face: Contour the sides of the forehead and under the cheekbones to balance proportions.
5. Blending is Key
Blending is perhaps the most critical step in achieving a natural contour. Harsh lines can look unflattering in photographs, so take your time to blend the products seamlessly into your skin.
- Tip: Use a damp beauty sponge or a fluffy contour brush for smooth blending.
- Benefit: Well-blended contour ensures your makeup looks flawless and polished on camera.
In Lebanon, where natural makeup looks are often preferred, blending ensures your contour complements your overall look without overpowering it.
6. Highlighting for a Radiant Glow
Highlighting is the perfect complement to contouring, adding light to the high points of your face and enhancing your natural glow.
- Tip: Apply highlighter to the tops of your cheekbones, the bridge of your nose, and the cupid’s bow.
- Benefit: Highlighting creates a balanced look, ensuring your features pop in photographs without appearing shiny.
7. Setting Your Makeup
To keep your contour and highlight in place, especially during long events or photoshoots in Dubai or the UAE, setting your makeup is essential.
- Tip: Use a translucent setting powder to lock in your makeup and reduce shine.
- Benefit: A well-set base ensures your contour looks fresh and defined throughout the day.
8. Testing Your Look Under Different Lighting
Lighting can significantly impact how your makeup appears in photographs. Testing your look under different lighting conditions ensures your contour looks perfect, whether in natural light or under professional studio lights.
- Tip: Take test photos in different lighting to identify any adjustments needed.
- Benefit: Testing prevents surprises and ensures your makeup looks flawless in every shot.
Conclusion
Contouring for photographs is an art that can transform your appearance and boost your confidence. By understanding your face shape, choosing the right makeup products, and mastering blending techniques, you can achieve a polished, camera-ready look for any occasion. Whether you’re attending a wedding in Dubai, a high-profile event in the UAE, or a celebration in Lebanon, these contouring tips will help you shine in every photo. Practice makes perfect, so experiment with different techniques to find what works best for you and get ready to dazzle in front of the camera!
