Step-by-Step Tutorial: How to Dampen and Use Your Premium Beauty Sponge October 19, 2024

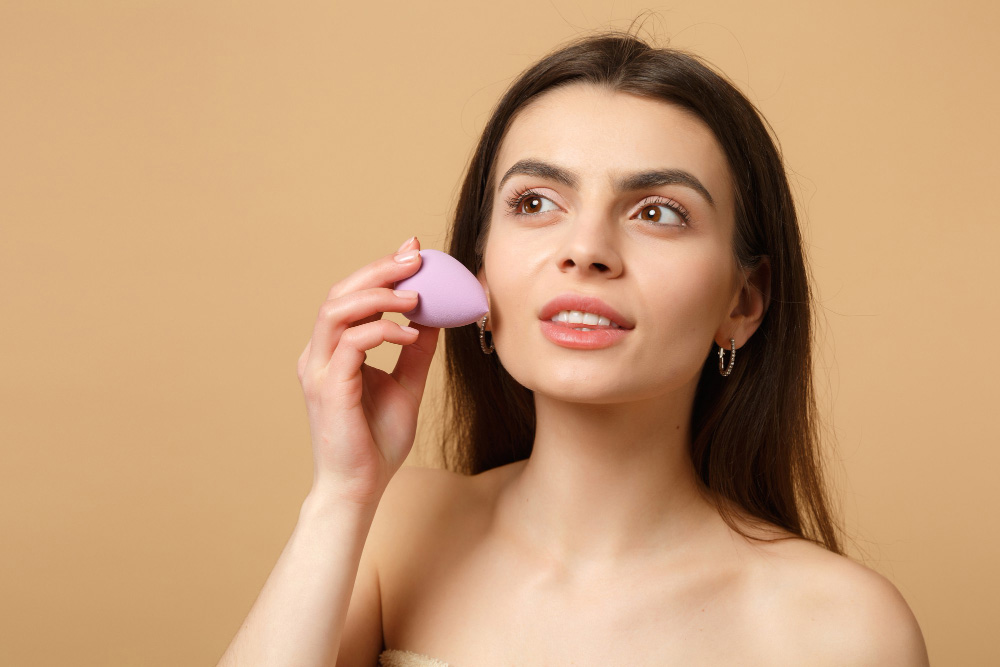
The beauty sponge has become a staple tool for achieving a flawless, airbrushed makeup look. Whether you’re applying foundation, concealer, or powder, using a beauty sponge can help blend products seamlessly into your skin. However, to get the best results, it’s essential to know how to properly dampen and use your premium beauty sponge. In this step-by-step tutorial, we’ll guide you through the process of prepping your sponge and using it for different types of makeup applications.
1. Step One: Wet the Sponge
The first and most important step in using your beauty sponge is to wet it. A damp sponge helps distribute makeup more evenly and prevents the sponge from absorbing too much product.
- How to: Hold your premium beauty sponge under running water, allowing it to soak in the water. You’ll notice that the sponge will expand and become softer as it absorbs the moisture.
- Pro Tip: Ensure the entire sponge is fully saturated with water. You want it to be damp, not soaking wet, for optimal results.
2. Step Two: Squeeze Out Excess Water
Once your beauty sponge is fully saturated, it’s time to squeeze out the excess water. You don’t want the sponge to be dripping, but it should feel damp to the touch.
- How to: Squeeze the sponge gently with your hands to remove excess water. If needed, wrap the sponge in a clean towel or tissue and squeeze again to ensure it’s just damp enough for application.
- Pro Tip: A properly dampened sponge should feel lightweight and fluffy, not heavy with water.
3. Step Three: Applying Liquid or Cream Products
Now that your sponge is prepped, it’s time to apply makeup. Premium Beauty sponges are perfect for applying liquid or cream foundations, concealers, and even cream blush or bronzer.
- How to: Dab a small amount of your product onto the back of your hand or directly onto the sponge. Gently bounce or tap the sponge onto your skin, starting from the center of your face and working outward. The bouncing motion ensures that the product blends seamlessly without streaks.
- Pro Tip: Use the pointed end of the beauty sponge for precise areas like under the eyes and around the nose, and the rounded side for larger areas like the cheeks and forehead.
4. Step Four: Using the Sponge for Concealer
The premium beauty sponge is also great for applying concealer, especially for under-eye areas or spot concealing.
- How to: Apply a small amount of concealer under your eyes or on blemishes. Use the pointed end of the damp sponge to lightly dab and blend the concealer into your skin. The dampness of the sponge will prevent the concealer from looking cakey or heavy.
- Pro Tip: For extra coverage, let the concealer sit for a few seconds before blending it out with the sponge.
5. Step Five: Setting with Powder
Your beauty sponge can also be used to set your makeup with powder for a flawless, long-lasting finish. Using a damp sponge to apply powder can help the product melt into the skin and lock in your makeup.
- How to: Dip the flat or rounded side of the damp sponge into loose setting powder. Press the beauty sponge onto areas where you want to set your makeup, such as under the eyes, the T-zone, or any areas prone to oiliness. Lightly tap the powder into the skin for a smooth finish.
- Pro Tip: For a more natural finish, use a minimal amount of powder and press it gently into the skin. This technique is also great for “baking” your makeup to keep it in place throughout the day.
6. Step Six: Cleaning Your Beauty Sponge
To maintain your beauty sponge and ensure that it stays hygienic, regular cleaning is essential. A dirty sponge can harbor bacteria, which may lead to breakouts or skin irritation.
- How to: After each use, rinse the sponge under warm water and apply a gentle cleanser. Massage the sponge to remove all makeup and impurities. Rinse until the water runs clear, then squeeze out excess water and let it air dry.
- Pro Tip: It’s a good idea to clean your beauty sponge at least once a week to keep it in optimal condition. Replace your sponge every three to six months depending on usage.
Conclusion
Using a premium beauty sponge is one of the easiest and most effective ways to achieve flawless makeup application. Whether you’re applying foundation, concealer, or powder, a dampened beauty sponge helps blend products seamlessly into your skin for a natural, airbrushed finish. Remember to wet your sponge, squeeze out excess water, and use a bouncing motion for the best results. With the right care and technique, your premium beauty sponge will become your go-to tool for perfect makeup every time.
