Best Premium Beauty Sponges in Dubai and the UAE: Top Shapes and Densities October 9, 2025
A great beauty sponge is like an invisible editor for your makeup—erasing edges, pressing product into the skin, and creating an airbrushed finish that brushes alone can’t always deliver. But “premium” is more than a buzzword; it shows up in the pore structure, bounce, cut precision, and how well the sponge behaves with different formulas. Below is your complete guide to choosing and using the Best Premium Beauty Sponges in Dubai and the UAE—from shapes and densities to cleaning, storage, and application techniques—tailored for hot, sunny climates like Dubai and the rest of the United Arab Emirates UAE.
Why Sponge Quality Matters
Two beauty sponges can look identical yet perform completely differently. High-quality, latex-free foams have microcell structures that expand evenly when damp, hold water without dripping, and spring back quickly. This prevents streaks, absorbs less product, and helps press makeup into a thin, flexible film that wears longer in heat and humidity.
Top Shapes and What They’re Best For
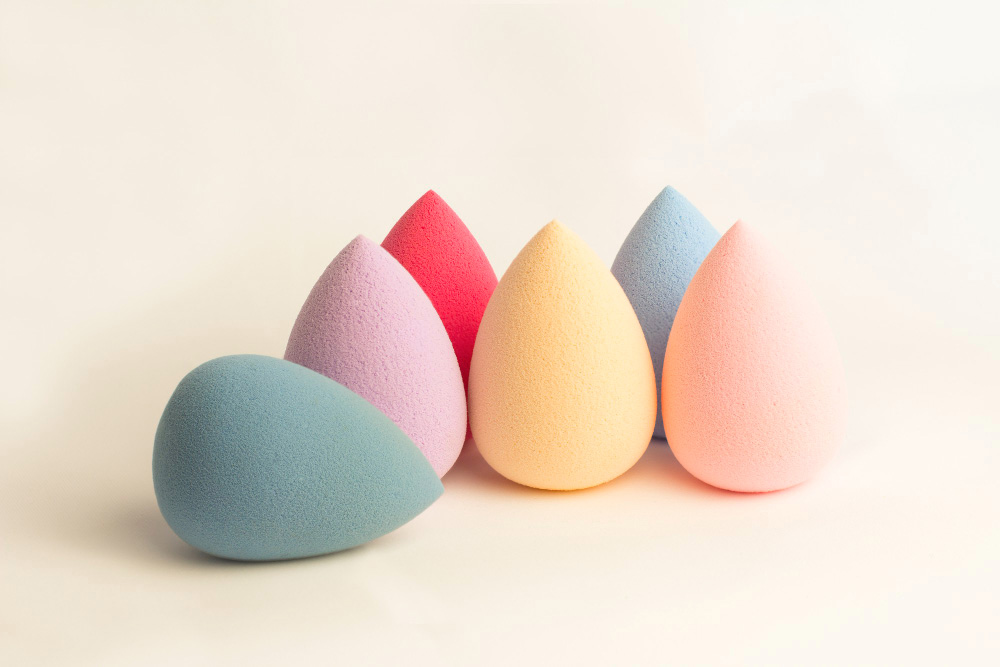
- Classic Teardrop: The rounded base blends foundation and tinted moisturizer fast, while the pointed tip reaches inner corners and around the nose. It’s the all-rounder every kit needs.
- Flat-Edge (Cut) Sponge: A beveled side lays down fuller coverage and sharpens edges along the jawline and under the cheekbone. Use the flat edge to press powder precisely.
- Dual-Cut (Flat + Point): Offers a wide “paddle” for quick base work plus an ultra-fine tip for concealer placement, spot-correcting, and baking (if you must).
- Mini Detail Sponges: Perfect for concealer, inner-corner brightening, and cream contour around the nostrils and lips.
- Body/XL Sponges: Great for body makeup or ultra-quick face blending; they create a soft-focus finish in seconds.
Understanding Density: Soft, Balanced, or Firm
- Soft Density: Maximum bounce and minimal pressure. Excellent for sheer, second-skin finishes, dry or mature skin, and dewy foundations.
- Balanced (Medium) Density: The most versatile. It offers control for buildable coverage without soaking up product, ideal for most skin types.
- Firm Density: Best for cream contour and when you want to keep lines crisp. Also helpful if you work in high humidity and need more structure to blend without over-sheering.
Wet vs. Dry: When to Use Each
- Wet (damp, not dripping): Expands the sponge, reduces product absorption, and creates a thinner, more flexible layer—your best bet for everyday foundation, concealer, and cream blush.
- Dry: Great for pressing on setting powder, refining edges of contour or shadow fallout, and tapping down excess shine without disturbing layers underneath.
Pairing With Formulas
- Liquids & Serums: Use the round base in bouncing motions to avoid streaks. Press, don’t swipe.
- Cream Foundation & Contour: A firmer, flat-edge sponge helps keep sculpted zones precise while still blending the borders.
- Cream Blush & Highlighter: A soft, damp beauty sponge melts pigment into skin so the glow reads “from within.”
- Powders: Use a dry edge to press powder only where needed (T-zone, smile lines) instead of dusting it everywhere.
Climate-Smart Tips for Dubai and the UAE
- Go thin and strategic: In heat and AC-heavy environments like Dubai, thin layers wear better than thick coats. Let the beauty sponge do the work of sheering and pressing product.
- Use setting only where necessary: Press powder into specific zones instead of the whole face to keep skin looking fresh in the United Arab Emirates UAE.
- Blot don’t bake: Midday blotting with the clean, dry side of your sponge refreshes the base without cakiness.
Step-by-Step: Seamless Base in 5 Minutes
- Prep: Light moisturizer + SPF. If pores are visible, tap a grip-primer only in the T-zone.
- Even out: Dot foundation on the face. Using a damp Premium Beauty Sponge, bounce from the center outward until even and thin.
- Conceal: Tap concealer under eyes and on spots with the pointed end. Keep layers minimal—add coverage only where needed.
- Blush & Contour: Sheer cream blush and contour with the rounded side so color looks fused with skin, not painted on.
- Set selectively: With a dry edge, press a veil of powder into the sides of the nose, chin, and between brows. Done.
Advanced Techniques Pros Swear By
- Edge Eraser: If blush or contour creeps too low, use a clean, slightly damp sponge to “erase” the bottom edge without disturbing the base.
- Mist + Press: Mist the sponge lightly with a setting spray, then press over makeup to lock layers without a dusty finish.
- Under-Eye Smooth: Warm a touch of eye cream between fingers, tap under the eye, then use the tip of a dry sponge to pick up excess—creases vanish without piling on powder.
Hygiene: Clean Tools = Clearer Skin
Clean beauty sponges blend better and are kinder to your skin. Rinse daily after use if you can, and give them a proper wash several times a week depending on frequency. A gentle cleanser or bar soap breaks down oils without degrading foam. Squeeze (don’t twist) and air-dry in a well-ventilated spot.
- Between shades: For brushes, our Dry Brush Cleaner is a lifesaver; for sponges, keep two in rotation so one can dry fully.
- Storage: Let sponges breathe—holes in a Brush Box work well. For travel, stash clean and dry tools in the All-In Bag with a mesh pocket to avoid trapped moisture.
- Replacement: Even premium foams need replacing. If the surface pills, tears, or smells after washing, it’s time for a fresh sponge.
Choosing Your Capsule Sponge Wardrobe
- Everyday MVP: Balanced-density teardrop for foundation and concealer.
- Precision Partner: Small pointed mini for concealer correction and inner corners.
- Edge Master: Flat-edge sponge for cream contour placement and targeted powdering.
Working With Tools You Already Own
Sponges and brushes aren’t rivals—they’re teammates. Use Expert Makeup G Brush Collection to place product (foundation around brows, contour under cheekbones), then switch to the sponge to press and perfect. This combo speeds up mornings and creates that coveted skin-like finish.
Troubleshooting
- Streaks or patches: Your sponge may be too dry. Re-wet, squeeze thoroughly, and try again using tap-tap motions.
- Makeup disappearing: Sponge is too wet or too porous. Wring firmly in a towel and work in thinner layers.
- Cakey look: You’re over-powdering. Use the damp side to press and melt layers together; set only where needed.
Quick Looks You Can Build
Everyday Soft-Matte
- Damp sponge to blend lightweight foundation.
- Pointed tip for concealer; press translucent powder only in the T-zone.
- Tap cream blush high on the cheek; finish with a whisper of Highlighter.
Event-Ready Radiance
- Mix a drop of liquid illuminator into foundation; bounce with damp sponge.
- Flat edge to sharpen cream contour under the cheekbone.
- Mist sponge with setting spray and press all over for photo-friendly cohesion.
Final Take
The best premium beauty sponge is the one that fits your formulas, finish goals, and routine speed. Choose shape for the jobs you do most, density for your desired coverage, and maintain it well. With a little practice, a Premium Beauty Sponge turns multiple products into one seamless, breathable layer—perfect for long days across the United Arab Emirates UAE.
Disclaimer
This article provides general educational guidance on beauty sponges, application, and care. It is not medical advice. If you experience irritation or breakouts, discontinue use, clean or replace tools, and consult a licensed skincare professional or dermatologist.